A lot of Motorcycles are stalled during the autumn and winter. That means the motorcycle has been standing still for at least 3 months! This may not seem that long, but unfortunately there is a lot that can go wrong in such short time.
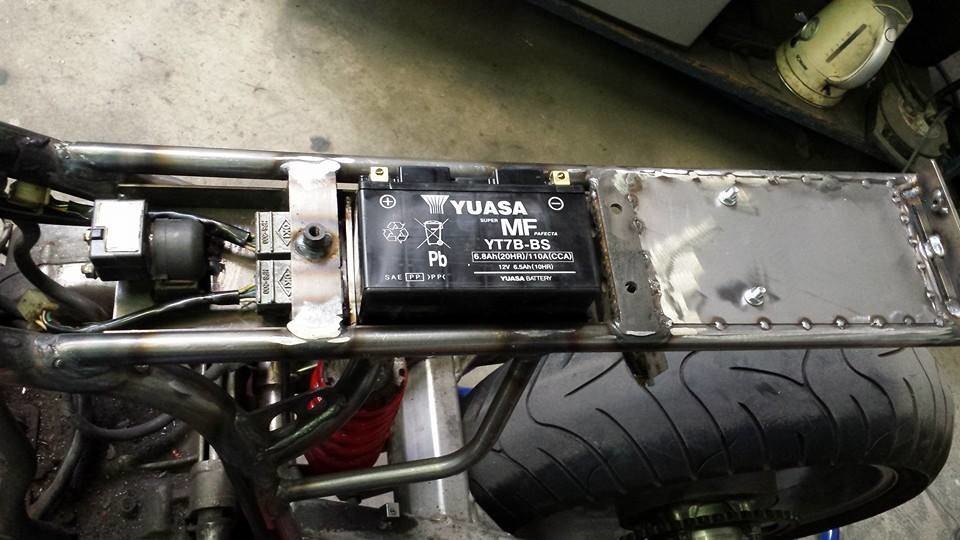
Step 1: Check your battery
The first thing on many bikes to go bad is the battery. Since the bike hasn't run for a long time and during the cold winter time the battery slowly drains below the point where it can't be charged again.
Some battery's have a button on it to check the current status, but if your's doesn't have one you can just grab your trusty multi-meter and check it out!
This tabels gives an aproximite understanding of the current status of your battery:
| Voltage | Battery Status |
| 12.73 or better | Fully charged, nothing to worry about |
| 12.62 | 90 percent charged, charge it for a bit |
| 12.50 | 80 percent charged, charge it for a bit |
| 12.32 | 70 percent charged, charge it for a bit |
| 12.20 | 60 percent charged, charge it for a bit |
| 12.06 | 50 percent charged, charge it for a bit |
| 11.90 | 40 percent. Try to charge the battery using revive mode* |
| 11.75 | 30 percent. Try to charge the battery using revive mode* |
| 11.58 | 20 percent. Try to charge the battery using revive mode* |
| 11.31 | 10 percent. Try to charge the battery using revive mode* |
| 10.50 | Try to charge using re... time for replacement.. |
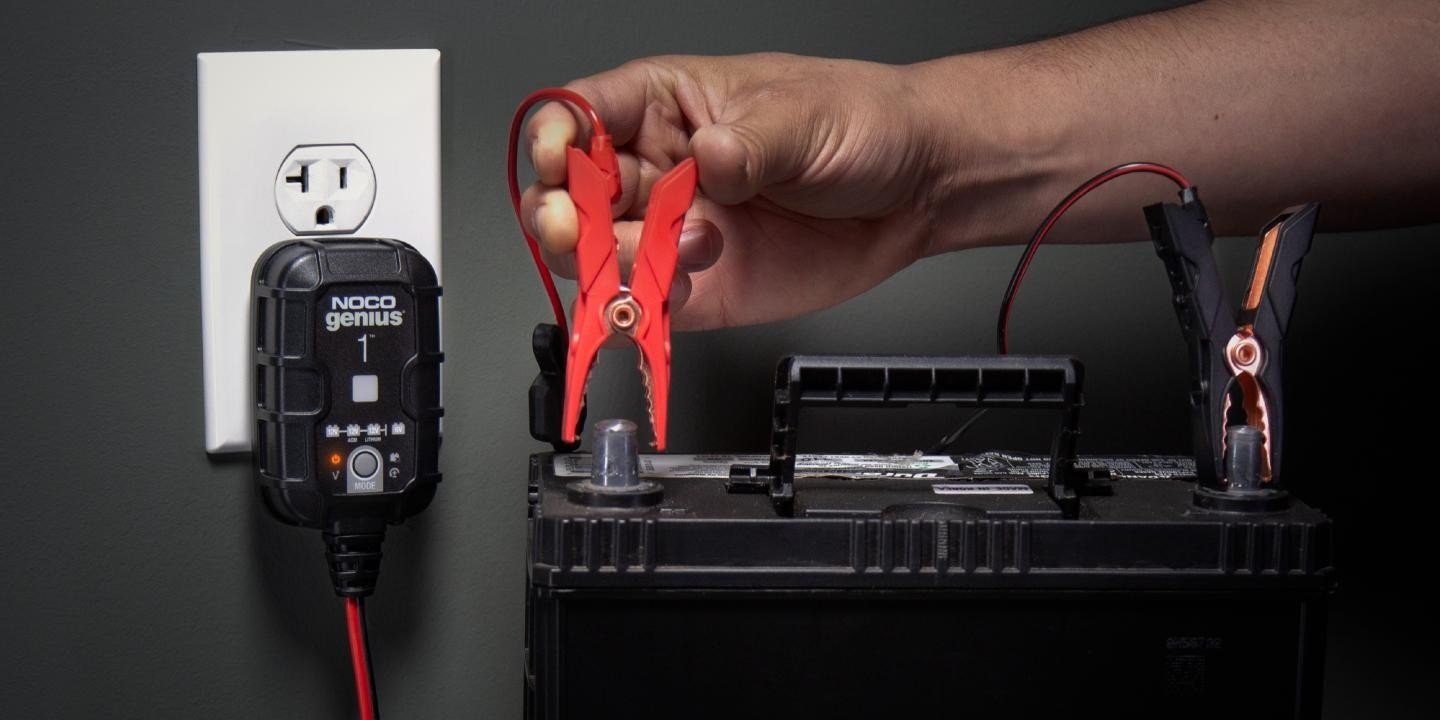
* Some battery tenders have a very neat feature called revive mode! Battery Chargers such as the Noco genius has proven very helpful in these kind of situations! (read the manual of the product before using)
If all of this charging hasn't helped your battery, you need a new battery. And getting a trickle charger for the colder times along with it would be doing yourself a big favor. ;)
Step 2: Check your tyres
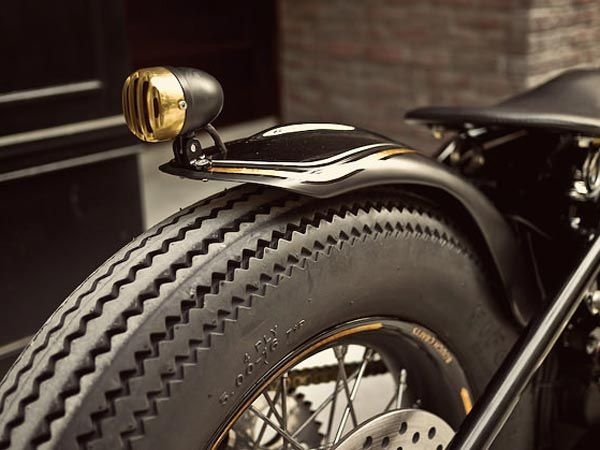
Tyres are commonly overseen during a check like this. Is is very important to check if your tyres aren't getting to old/dried out. Most tyres have a secure lifespan of around 5 year, but that totally depend on tyre quality, driving style, tyre pressure etc. etc. So make sure you have at least 1 mm of tyre thread left. But if you ask me personally, i recommend changing at around 2mm. Also the minimum amount of thread can differ per country and region, so check this as well.
Besides checking that your tyres isn't having any aging hairline cracks and weird bobbles in it, it's also very important to make sure your have the correct tyre pressure in them. This can vary per bike and tyre, so check what is recommended for your bike and the tyre itself.
Is your tyre too old, no thread left or just up for replacement whatsoever? Then check our assortment of classic look high performing tyres.
Step 3: Check your Engine oil
The oil in your motorcycle is like blood is to us. it runs though the entire thing and makes sure everything works and keeps on working. But for a bike you can just change it, insert a filter and even choose what oild you want to put in it...
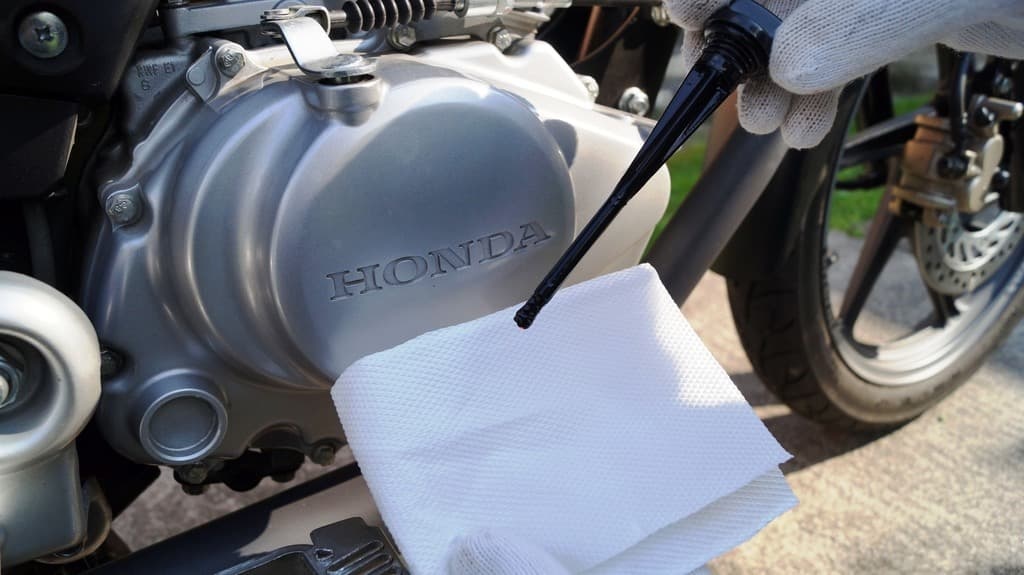
That said you need to start by checking how long/how many kilometers/miles you have been using the current oil. to check how long you can use the oil in your bike you will have to do some research since the difference is quite big per brand and model. If your oil is still good to go you only have to make sure there is still enough in the bike, else just top it off till you reached the right volume.
A lot of bikes run fine on 10W-40 (i Like to use the valvoline 10W-40 which come in 5L packages and has a good price/quality) but if you want to make sure, double check for your specific bike!
If your bike is up for an oil change there is no better time for doing that then right now! Go ahead and look up which engine oil your bike needs, get the right oil filter along with and start draining the old and nasty oil.
Insert/attach the new oil filter and gaskets, fill er up with the right amount of oil, let here run for a while to get om operating temperature and then make sure the right amount of oil is still in the bike and top it off when needed.
Step 4: Check your brakes
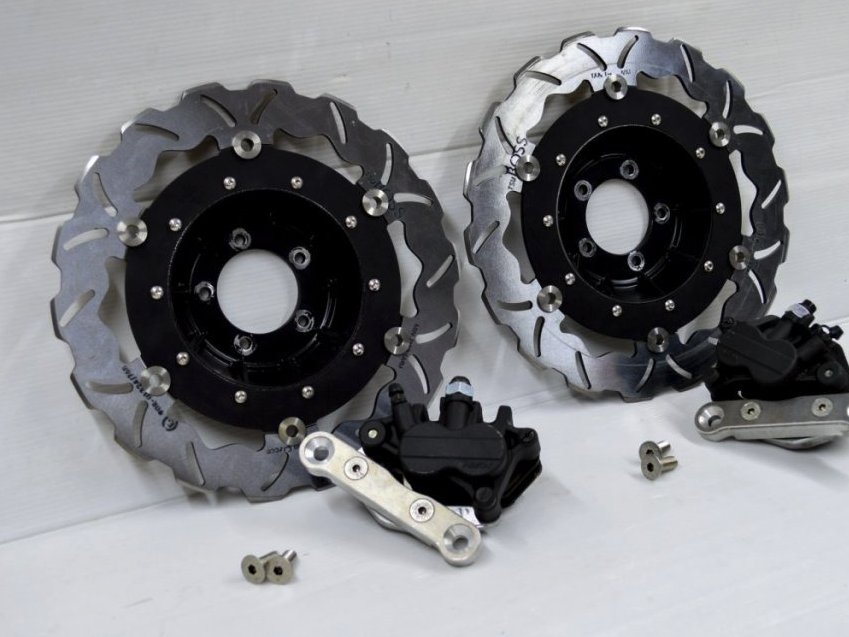
Good brakes make you faster, there...i said it. Besides speed and power you want to make sure your brakes are in tip top condition. Your rotors are probably coated in a nice bit of fly-rust, but that doesn't really affect anything after you used the brake a couple of times while driving.
But before you go ahead and slam on those brakes and check out the pavement on your first run, lets go ahead and check the quality of the brake fluid, the thickness of the brake pads/shoes and rotors.
Let's start with the break pads, those normally come with a identifier to easily check if there are up for a change with either a colour marking or a groove in it. When you don't see any of those and you only have 1/1,50 mm left i highly recommend changing those brake pads immediately before going in to the danger zone.
Now go ahead and check the thickness of your brake discs, it differs completely per bike and type of rotor what the minimum thickness is, but i recommend looking this up before your go further. :)
Also check if there aren't any low or high spots on the rotor, because those can also turn out to be a big problem.
When that is all set and done it is time to check your brake fluid, First check to see if your still have enough of brake fluid. Do this by setting your bike in an upright position using a wheel clamp or paddock stand(or your center stand of course!).
Depending on what type of brake fluid you use and what your bike accepts you also have to bleed the braking system every now and then. With DOT 3 this was around every 1 to two years, but has extended a lot using the much more recent DOT 5.1.

